RedHat discontinued the Centos and left a lot of people like me accustomed to the line derived from the RHEL orphaned from a stable, RPM-based Linux server.
And what does that have to do with this tutorial? Direct response: “;Para mim tudo”;.
I was forced to migrate my CentOS server 8 for another distrô available in VPSs da OVH e consequentemente reconfigurar tudo o que já estava em “;cruise flight”; and that includes the mail server that I even wrote a tutorial. To maintain tradition, according to I'm going to I've been running the steps of the configuration I write the tutorial.
I would initially inform you that I will continue to use the same software and with the same intention of using. This includes using Postfix, Dovecot, MariaDB, Spamassassin, ClamAV, Amavisd-new, Fail2ban, Nginx, Postfixadmin and RoundCube but in their utlimas versions under Ubuntu Server.
Why Ubuntu?
I have received some questions about why I choose Ubuntu Server to replace CentOS. The answer goes through two premises: Availability in contracted service and familiarity with use.
Among the distributions available, with Debian, Fedora and Ubuntu as options, i chose to use one that has LTS (long-term support) and as I have used Ubuntu for some time as the main SO in my development environment I was more inclined to use the Ubuntu Server 20.04 for having support at least until 2025 and it will probably be much more guaranteed that Canonical will not discontinue Ubuntu just as RedHat did with CentOS.
Now that the reasons are clear we can follow with what really matters that is the configuration.
Installation of packages
The beginning of any configuration is to install the necessary packages and their dependencies and I emphasize here that I will use the version that is available in the official repositorios of the chosen distribution.
The command below will install all the packages I will use and each of them that needs to be configured will gain a callout.
$ sudo apt install -y curl htop vim wget net-tools certbot postfix postfix-mysql postfix-pcre dovecot-coreamavisd-new clamdscan mariadb-server nginx php-fpmThe order of configuration matters because the idea is to have a server running with certain processes in order to have some services using others, or for information control, or to improve your own execution model. For example: Postfix does not do any control of the harmfulness of the content of the messages and this will be delegated to software specialized in this. Another factor is that by default the control of mailboxes would be done via user accounts of the Operating System (default installation), but we will use a control based on tables in the database and that we will configure through the use of the web browser which makes it necessary to have a database manager and a webserver previously installed.
Configuring MariaDB
Latest version: 10.6.5
Installed version: 10.3.32
During the configuration of my Webserver I suffered a little to have MariaDB installed, configured and stable because there appears to be a compatibility issue between an apparmor profile and the DBMS.
I had to perform the following steps to get the MariaDB service to stop terminating automatically minutes after it was started.. The steps were taken hence and hence.
$ sudo systemctl stop apparmor.service
$ sudo update-rc.d -f apparmor remove

$ sudo apt-get remove --purge mysql-server mysql-client mysql-common mariadb-server mariadb-common
$ sudo apt-get autoremove && sudo apt-get autoclean
$ sudo apt-get install mariadb-server mariadb-common mariadb-client

$ sudo systemctl start apparmor.service
$ sudo update-rc.d apparmor defaults
After installation there are two optional steps that can be performed to improve security in database access.
The first one I quote is the execution of the script sudo /usr/bin/mysql_secure_installation.
By running it you will be able to change the access password of the root user, remove the anonymous access account, remove the ability to authenticate as root remotely and remove the test database.
Here's what I used:
For the question about changing the password of the root user I just gave Enter without entering a password because I will not use external connection of any kind and the root user of the OS will only be accessible via local shell.
Enter current password for root (enter for none): I removed anonymous users responding with y the question below.
Remove anonymous users? [Y/n] yDisabled remote access for the user root responding with y the next question. Later I will configure ssh to not allow login by root user also which will require me to have a user with the ability to connect remotely and scale privilege locally to root and only then be able to connect to MariaDB as such.
Disallow root login remotely? [Y/n] yI removed the test database because after all it shouldn't be necessary to have it because it is a productive environment.. To this I replied with y the question just below:
Remove test database and access to it? [Y/n] yAnd finally I allowed to reload the table of privileges by responding with y the next question.
Reload privilege tables now? [Y/n] yAfter performing these steps I also executed the command sudo /usr/bin/mysql_install_db --user=mysql to initialize the required tables including the data directory for the correct execution of the database.
Finally I configured for the service to boot along with the boot of the operating system by running the command sudo systemctl enabled mariadb and start the service to check if everything is correct with the command sudo systemctl start mariadb.
At the end, running the command indicated below to check the status of the service should have an output similar to the one displayed.
root@vps:/home/regis# systemctl status mariadb
● mariadb.service - MariaDB 10.3.32 database server
     Loaded: loaded (/lib/systemd/system/mariadb.service; enabled; vendor preset: enabled)
     Active: active (running) since Fri 2021-12-24 11:19:52 -03; 1 day 17h ago
       Docs: man:mysqld(8)
             https://mariadb.com/kb/en/library/systemd/
   Main PID: 773 (mysqld)
     Status: "Taking your SQL requests now..."
      Tasks: 35 (limit: 4566)
     Memory: 494.7M
     CGroup: /system.slice/mariadb.service
             └─773 /usr/sbin/mysqld

Dec 24 11:19:50 vps systemd[1]: Starting MariaDB 10.3.32 database server...
Dec 24 11:19:51 vps mysqld[773]: 2021-12-24 11:19:51 0 [Note] /usr/sbin/mysqld (mysqld 10.3.32>
Dec 24 11:19:52 vps systemd[1]: Started MariaDB 10.3.32 database server.
With the service started we can consider MariaDB ready to be used in the next steps.
PostfixAdmin
PostfixAdmin is a PHP script that makes the maintenance of mailboxes much easier and more practical. Because it is a PHP web application it is necessary that we have already installed and configured a WEB server that is not the scope of this manual. If you do not have a webserver installed, I suggest following the steps dessa publicação in which I show the installation of a WEB server with Nginx, Php-fpm, LetsEncrypt and MariaDB and only after having the server configured will you be able to proceed with the configuration proposed by this manual.
Let's run the command below to start the installation. This package was not included in the initial configuration because it starts a wizard that we will address in the next steps.
$ sudo apt install postfixadminAt the end of the installation process a wizard will be started so that we can configure Postfixadmin.
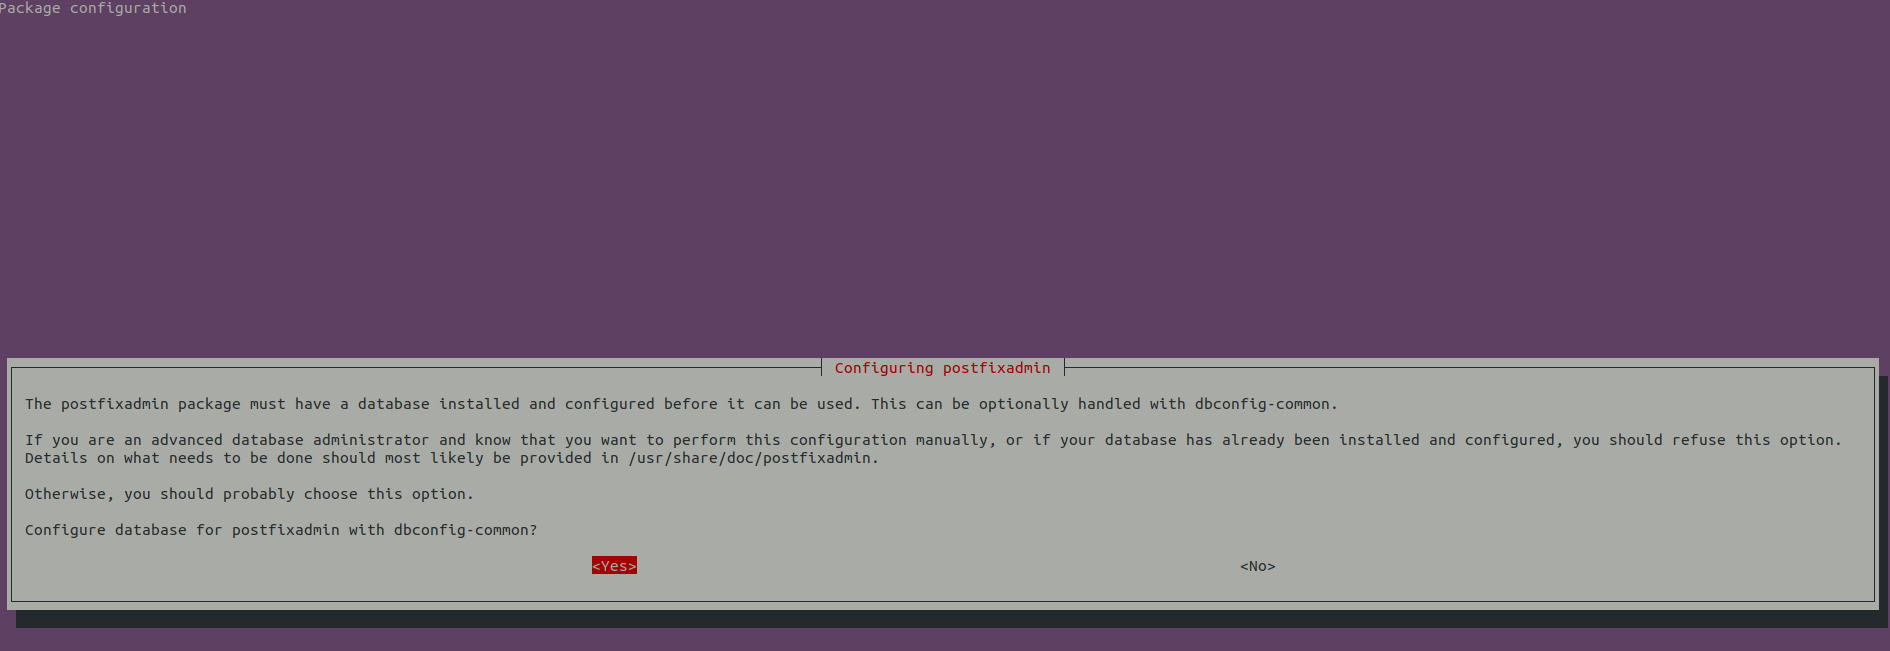
By typing Enter on <;Yes>; will be questioned for the password to access the database. Enter the desired password, Tab-navigate to <;Ok>; and press Enter.
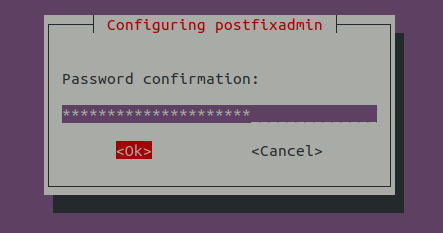
On the password confirmation screen, repeat it, navigate to <;Ok> and press Enter.
First connect to MariaDB using the root user, which according to our definition can only have access locally.
$ sudo mysqlIf all is right, you will be in the MariaDB shell and have an output similar to the content below.
usuario@host:~$ sudo mysql
Welcome to the MariaDB monitor.  Commands end with ; or \g.
Your MariaDB connection id is 284405
Server version: 10.3.32-MariaDB-0ubuntu0.20.04.1 Ubuntu 20.04

Copyright (c) 2000, 2018, Oracle, MariaDB Corporation Ab and others.

Type 'help;' or '\h' for help. Type '\c' to clear the current input statement.

MariaDB [(none)]>
The next step is to create the database and tables that will be used to store users, the boxes and various other settings. You can use the names mentioned here as an example or customize them (advisable). The steps here follow those in the installation file Postfixadmin installation manual and as you might already imagine, we'll need to set up PostfixAdmin to continue the task.
Let's create the name database mypostfixconfig.
Note: If you are not familiar with how a database works and users in MySQL may have some difficulty if any of the steps below do not work at first, but overall it's a very simple and easy process..
MariaDB [(none)]> CREATE DATABASE mypostfixconfig;
Query OK, 1 row affected (0.001 sec)
After you create the database and tables, we create a user, we set the access password and give appropriate permissions to it. Note that we will give all the privileges over the database created because it will be through it that we will continue the configuration.
MariaDB [(none)]> GRANT ALL PRIVILEGES ON mypostfixconfig.* TO 'mypostfixuser'@'localhost' IDENTIFIED BY '*******';
Query OK, 0 rows affected (0.000 sec)
After you have created the user, type exit to disconnect the root user.
Now we will test if the created user can connect and see the base. To do this type mysql -u mypostfixconfiguser -h localhost -p and then hit Enter. Enter the password set in the user creation command and if everything is right the output will be like the one shown below.
MariaDB [(none)]> mysql -u mypostfixuser -h localhost -p
Enter password:
Welcome to the MariaDB monitor.  Commands end with ; or \g.
Your MariaDB connection id is 950396
Server version: 10.3.32-MariaDB-0ubuntu0.20.04.1 Ubuntu 20.04

Copyright (c) 2000, 2018, Oracle, MariaDB Corporation Ab and others.

Type 'help;' or '\h' for help. Type '\c' to clear the current input statement.

MariaDB [(none)]>
Let's view which databases this user has access permission to.
MariaDB [(none)]> show databases;
+--------------------+
| Database           |
+--------------------+
| information_schema |
| mypostfixconfig    |
+--------------------+
2 rows in set (0.001 sec)

MariaDB [(none)]>
If the output displays the base we created in the previous steps it means that we can move on.. Otherwise repeat the previous steps, preferably by changing the names of the database and user to be created.
Dovecot
Dovecot is responsible for delivering the messages exchanged between MTAs in the boxes that in our case will be of the virtual type.
The following configuration will allow only users using SSL to connect to their boxes.
First we will back up the current settings so that in case of problems we can return the original versions.
$ sudo cp -R /etc/dovecot/conf.d /etc/dovecot/conf.d.origDovecot will store messages (and all its content) in a directory defined in configuration files, and for it to be able to do this it must be running with a user with the appropriate permissions.
$ groupadd -g 5000 vmail
$ useradd -g 5000 -G mail -u 5000 -d /var/mail vmail
The user created will be used in the authentication mechanism and then it will be by him that we will start. I will use MariaDB to store the authentication information and for this two files will be modified. The first configures the authentication type and the second will validate the authentication.
Edit the file /etc/dovecot/CONF.d/10-auth file and uncomment (or add) the lines below.
$ vim /etc/dovecot/conf.d/10-auth.conf

disable_plaintext_auth = yes
auth_mechanisms = plain login
!include auth-system.conf.ext
!include auth-sql.conf.ext
After, Edit the file /etc/dovecot/CONF.d/auth-sql.conf.ext so that it contains the following lines:
$ vim /etc/dovecot/conf.d/auth-sql.conf.ext


passdb {
  driver = sql
  args = /etc/dovecot/dovecot-mariadb.conf.ext
}

userdb {
  driver = sql
  args = /etc/dovecot/dovecot-mariadb.conf.ext
}
The file /etc/dovecot/dovecot-mariadb.conf.ext that is present in the template configures the connection to the database so that Dovecot can use it. It doesn't exist yet and we'll create it in the next step.. Pay attention to overriding the dbname information, user and password by those used in the step of creating the database.
$ vim /etc/dovecot/dovecot-mariadb.conf.ext

driver = mysql
connect = host=localhost dbname=mypostfixdb user=mypostfixdbuser password=**********
default_pass_scheme = SHA512-CRYPT

password_query = SELECT username as user, password, concat('/home/vmail/', maildir) as userdb_home, concat('maildir:/home/vmail/', maildir) as userdb_mail, 'vmail' as userdb_uid, 'mail' as userdb_gid FROM mailbox WHERE username = '%u' AND active = '1'

user_query = SELECT concat('maildir:/home/vmail/', maildir) as mail, CONCAT('*:messages=10000:bytes=', quota) as quota_rule FROM mailbox WHERE username = '%u' AND active = '1'
It's good practice to take a good look at existing examples of the programs we install.. If you are curious about every detail of the lines above take a look at the file /etc/dovecot/dovecot-sql.conf.ext.
Postfix
As I have already explained in the publication made and that is the basis for this, Postfix is an MTA and makes the connection between services for the exchange of e-mail messages.
The most current version of Postfix that is available this weekend 2021, at the time of writing this text, is the 3.6, but in the Ubuntu repository is available the 3.4 and it's the one I'll use.
If you got here comment asking to continue the tutorial. This encourages you to continue creating content..
Leave a Reply